DIY Router Sled
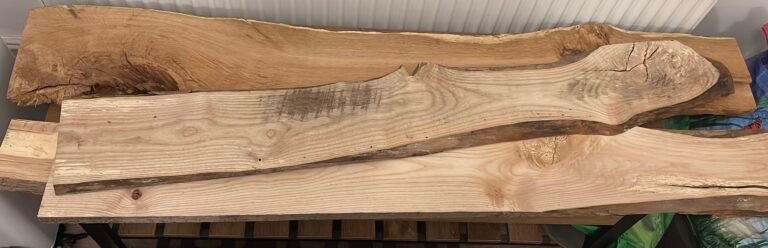
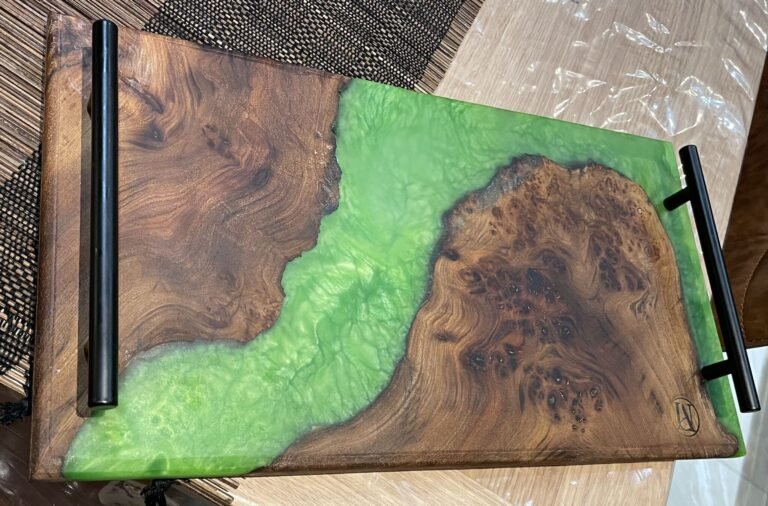
All the US videos on resin tables had, at some point, a trip to a friendly lumber yard where the resin table was planed down… No such luck in the Midlands as most yards were only prepared to (understandably) manage their own products. The only option there was to make a router sled.
I’ve got a Ryobi Trim Router and really didn’t want to splurge on any more kit so I decided to work around this.
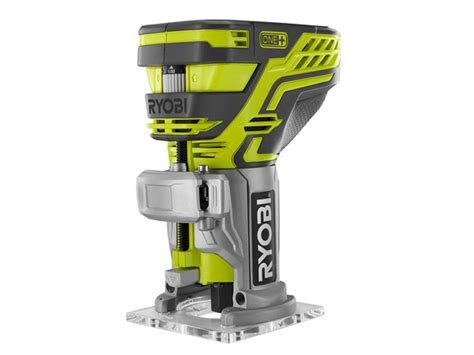
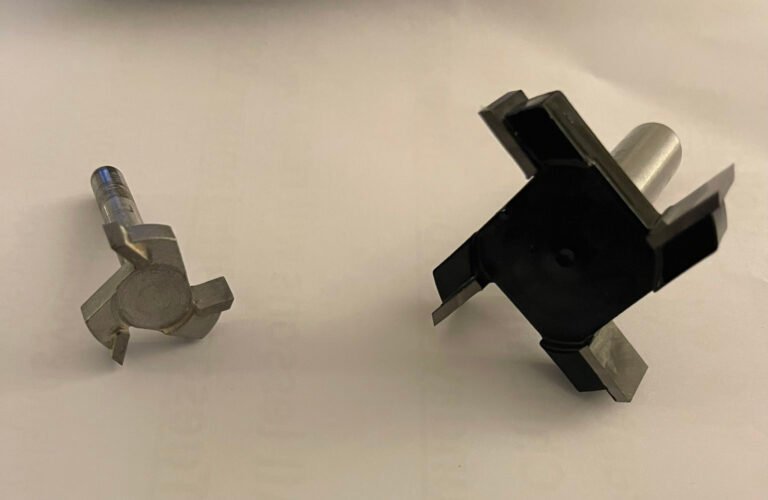
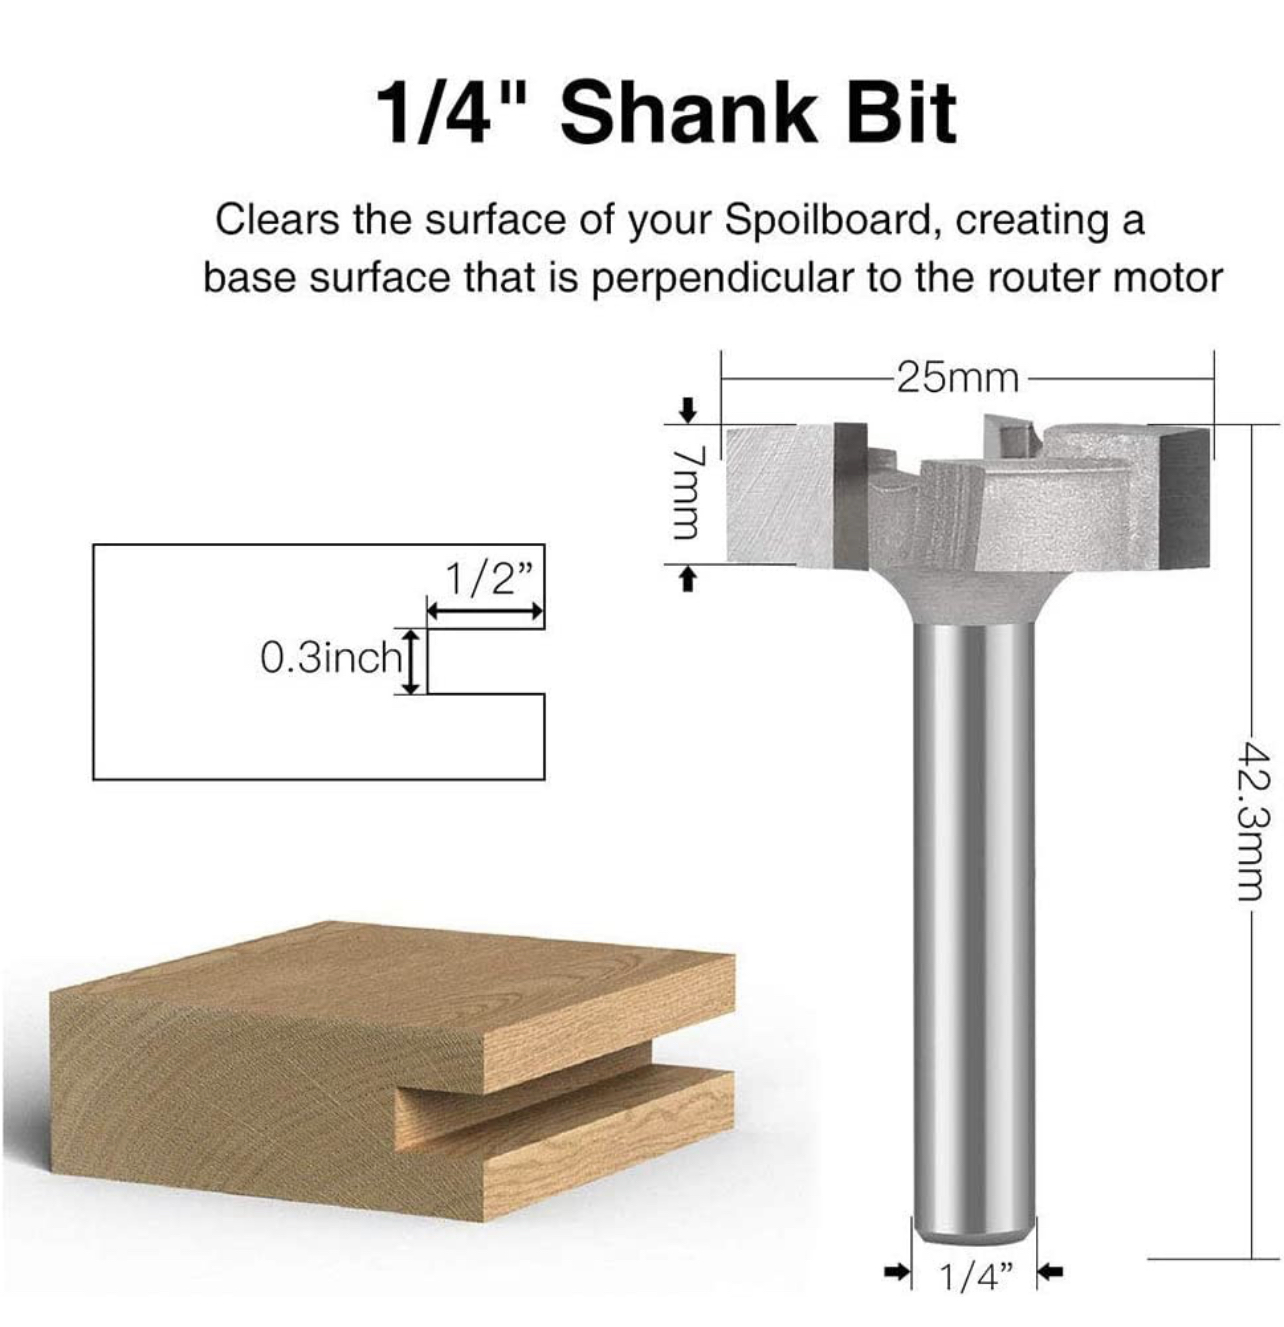
The Ryobi Trim Router has a 1/4″ collet so I made sure I could get an appropriate router bit that was long enough and broad enough to be able to let me mill the worktop without too much annoyance.
My reason for buying the Ryobi Trim Router was centred primarily on the need to do the above but also to let me utilise the One+ battery system. Buying just the body meant that it was cheaper than buy it with an additional battery. For a budding DIYer this is much less likely to get you into trouble with the spouse!!
I settled on building a router sled using angle irons which I got from ebay and some bits of plywood I had knocking around. I figured this woud be the most low profile and robust way to do it.
I cut some 18mm thick plywood to a couple of millimetres more than the router base. I then drilled holes in the wood and the angle iron using size 6 drill (obviously using material appropriate drillbits). Drilling through the metal I used a bit of 3-in-1 lubricating oil to ensure that I maintained the lubrication and a cooler temperature as recommended.
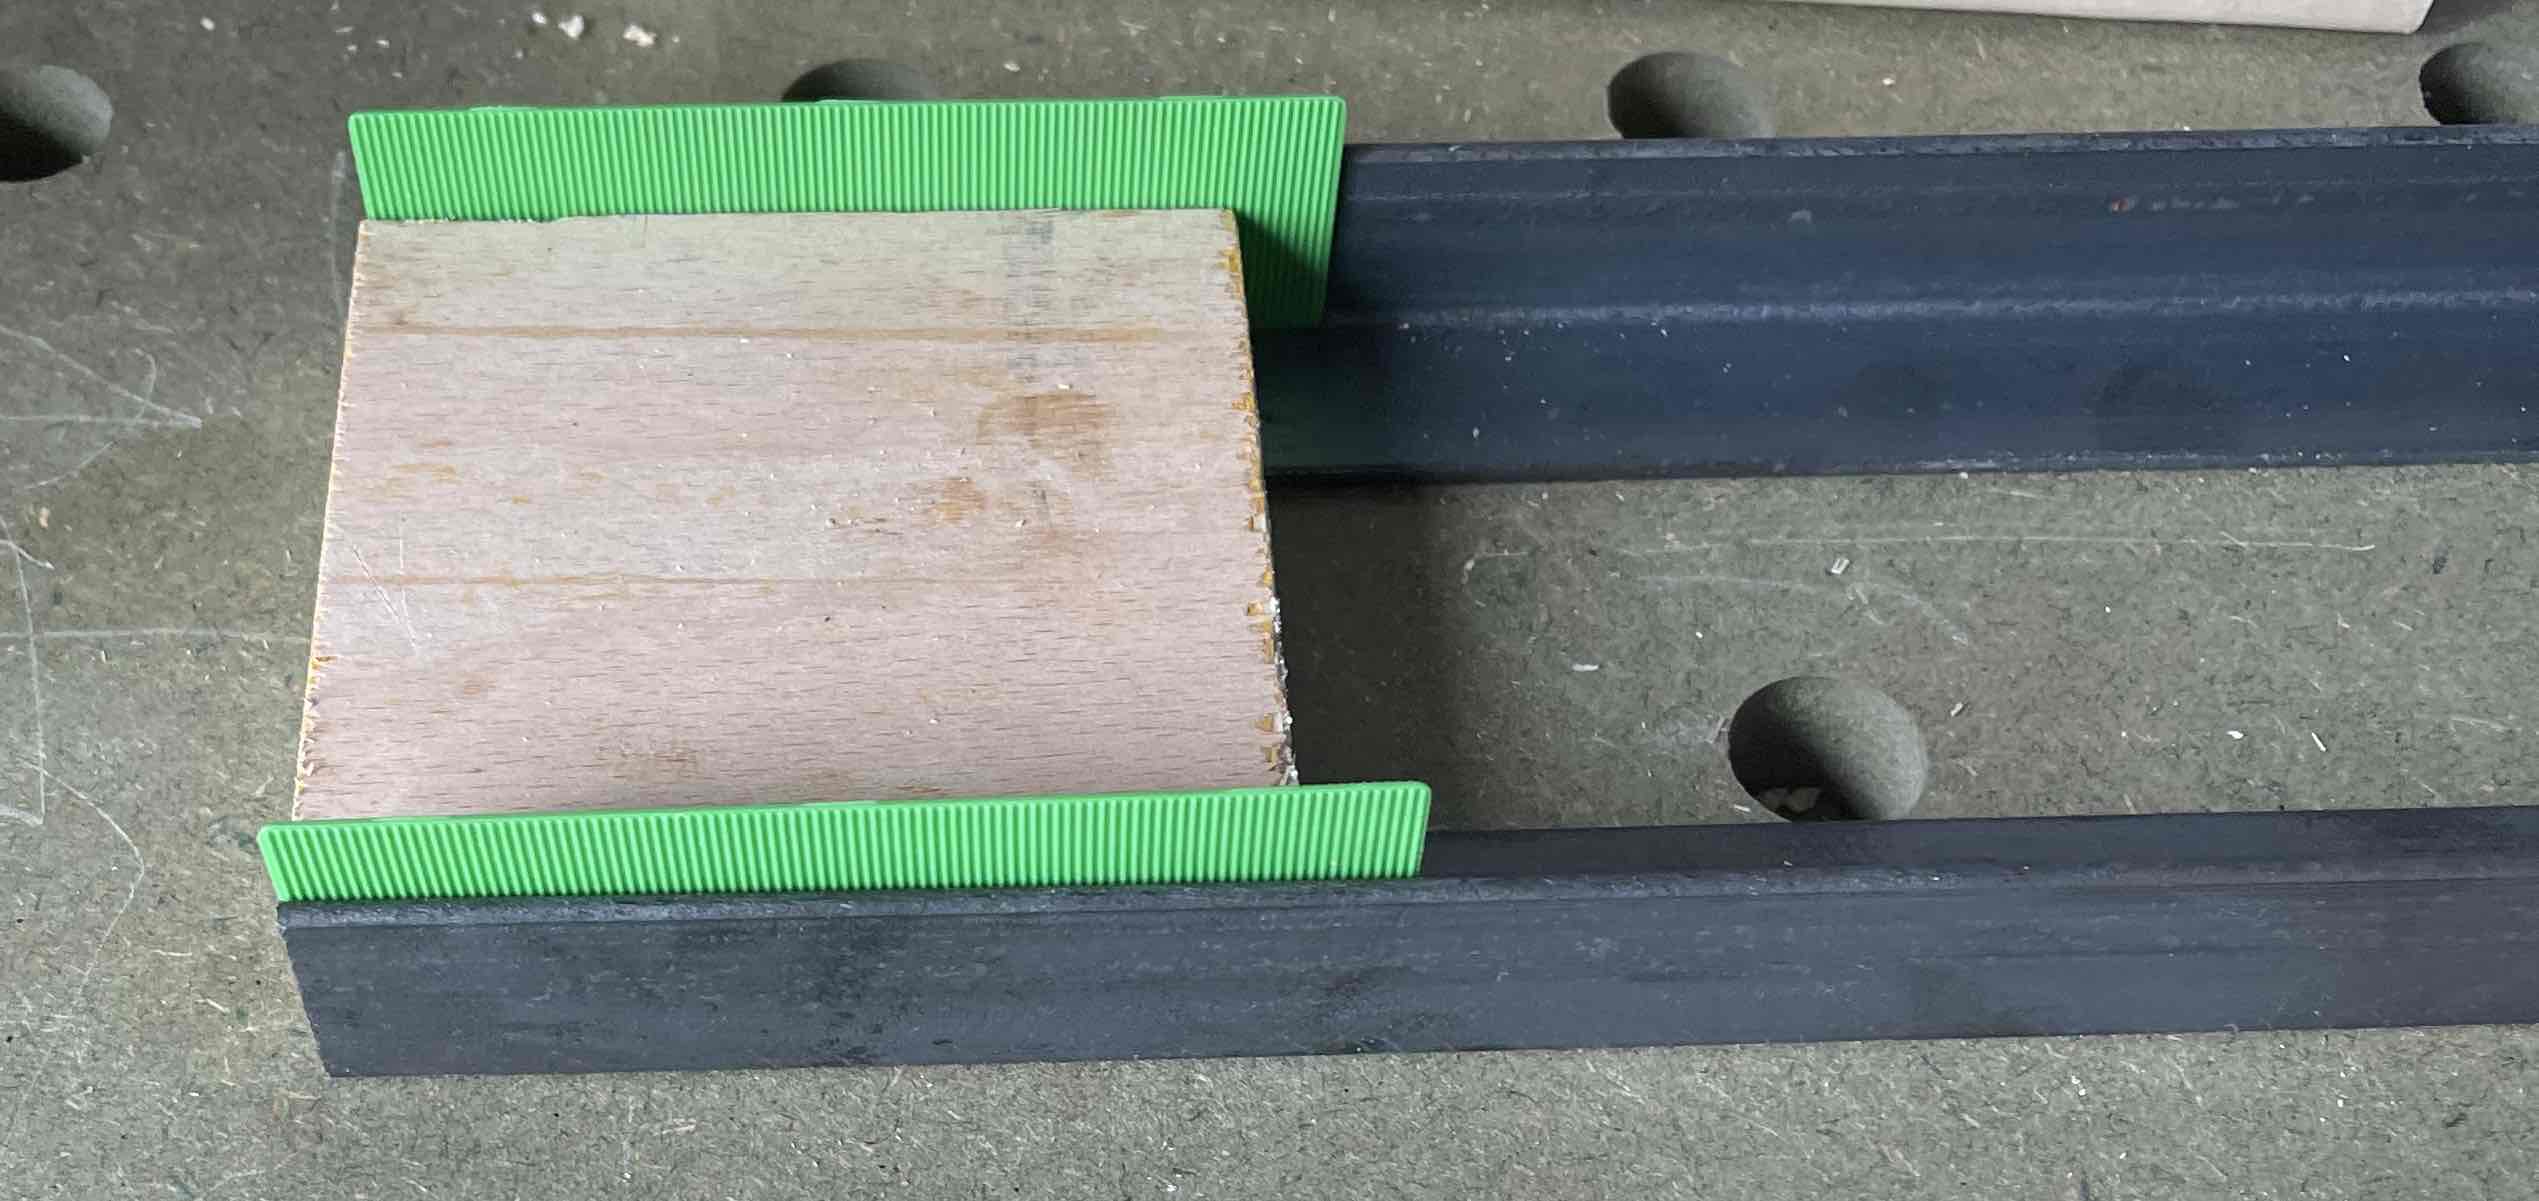
I used a couple of shims just to have a bit of wiggle room for the router
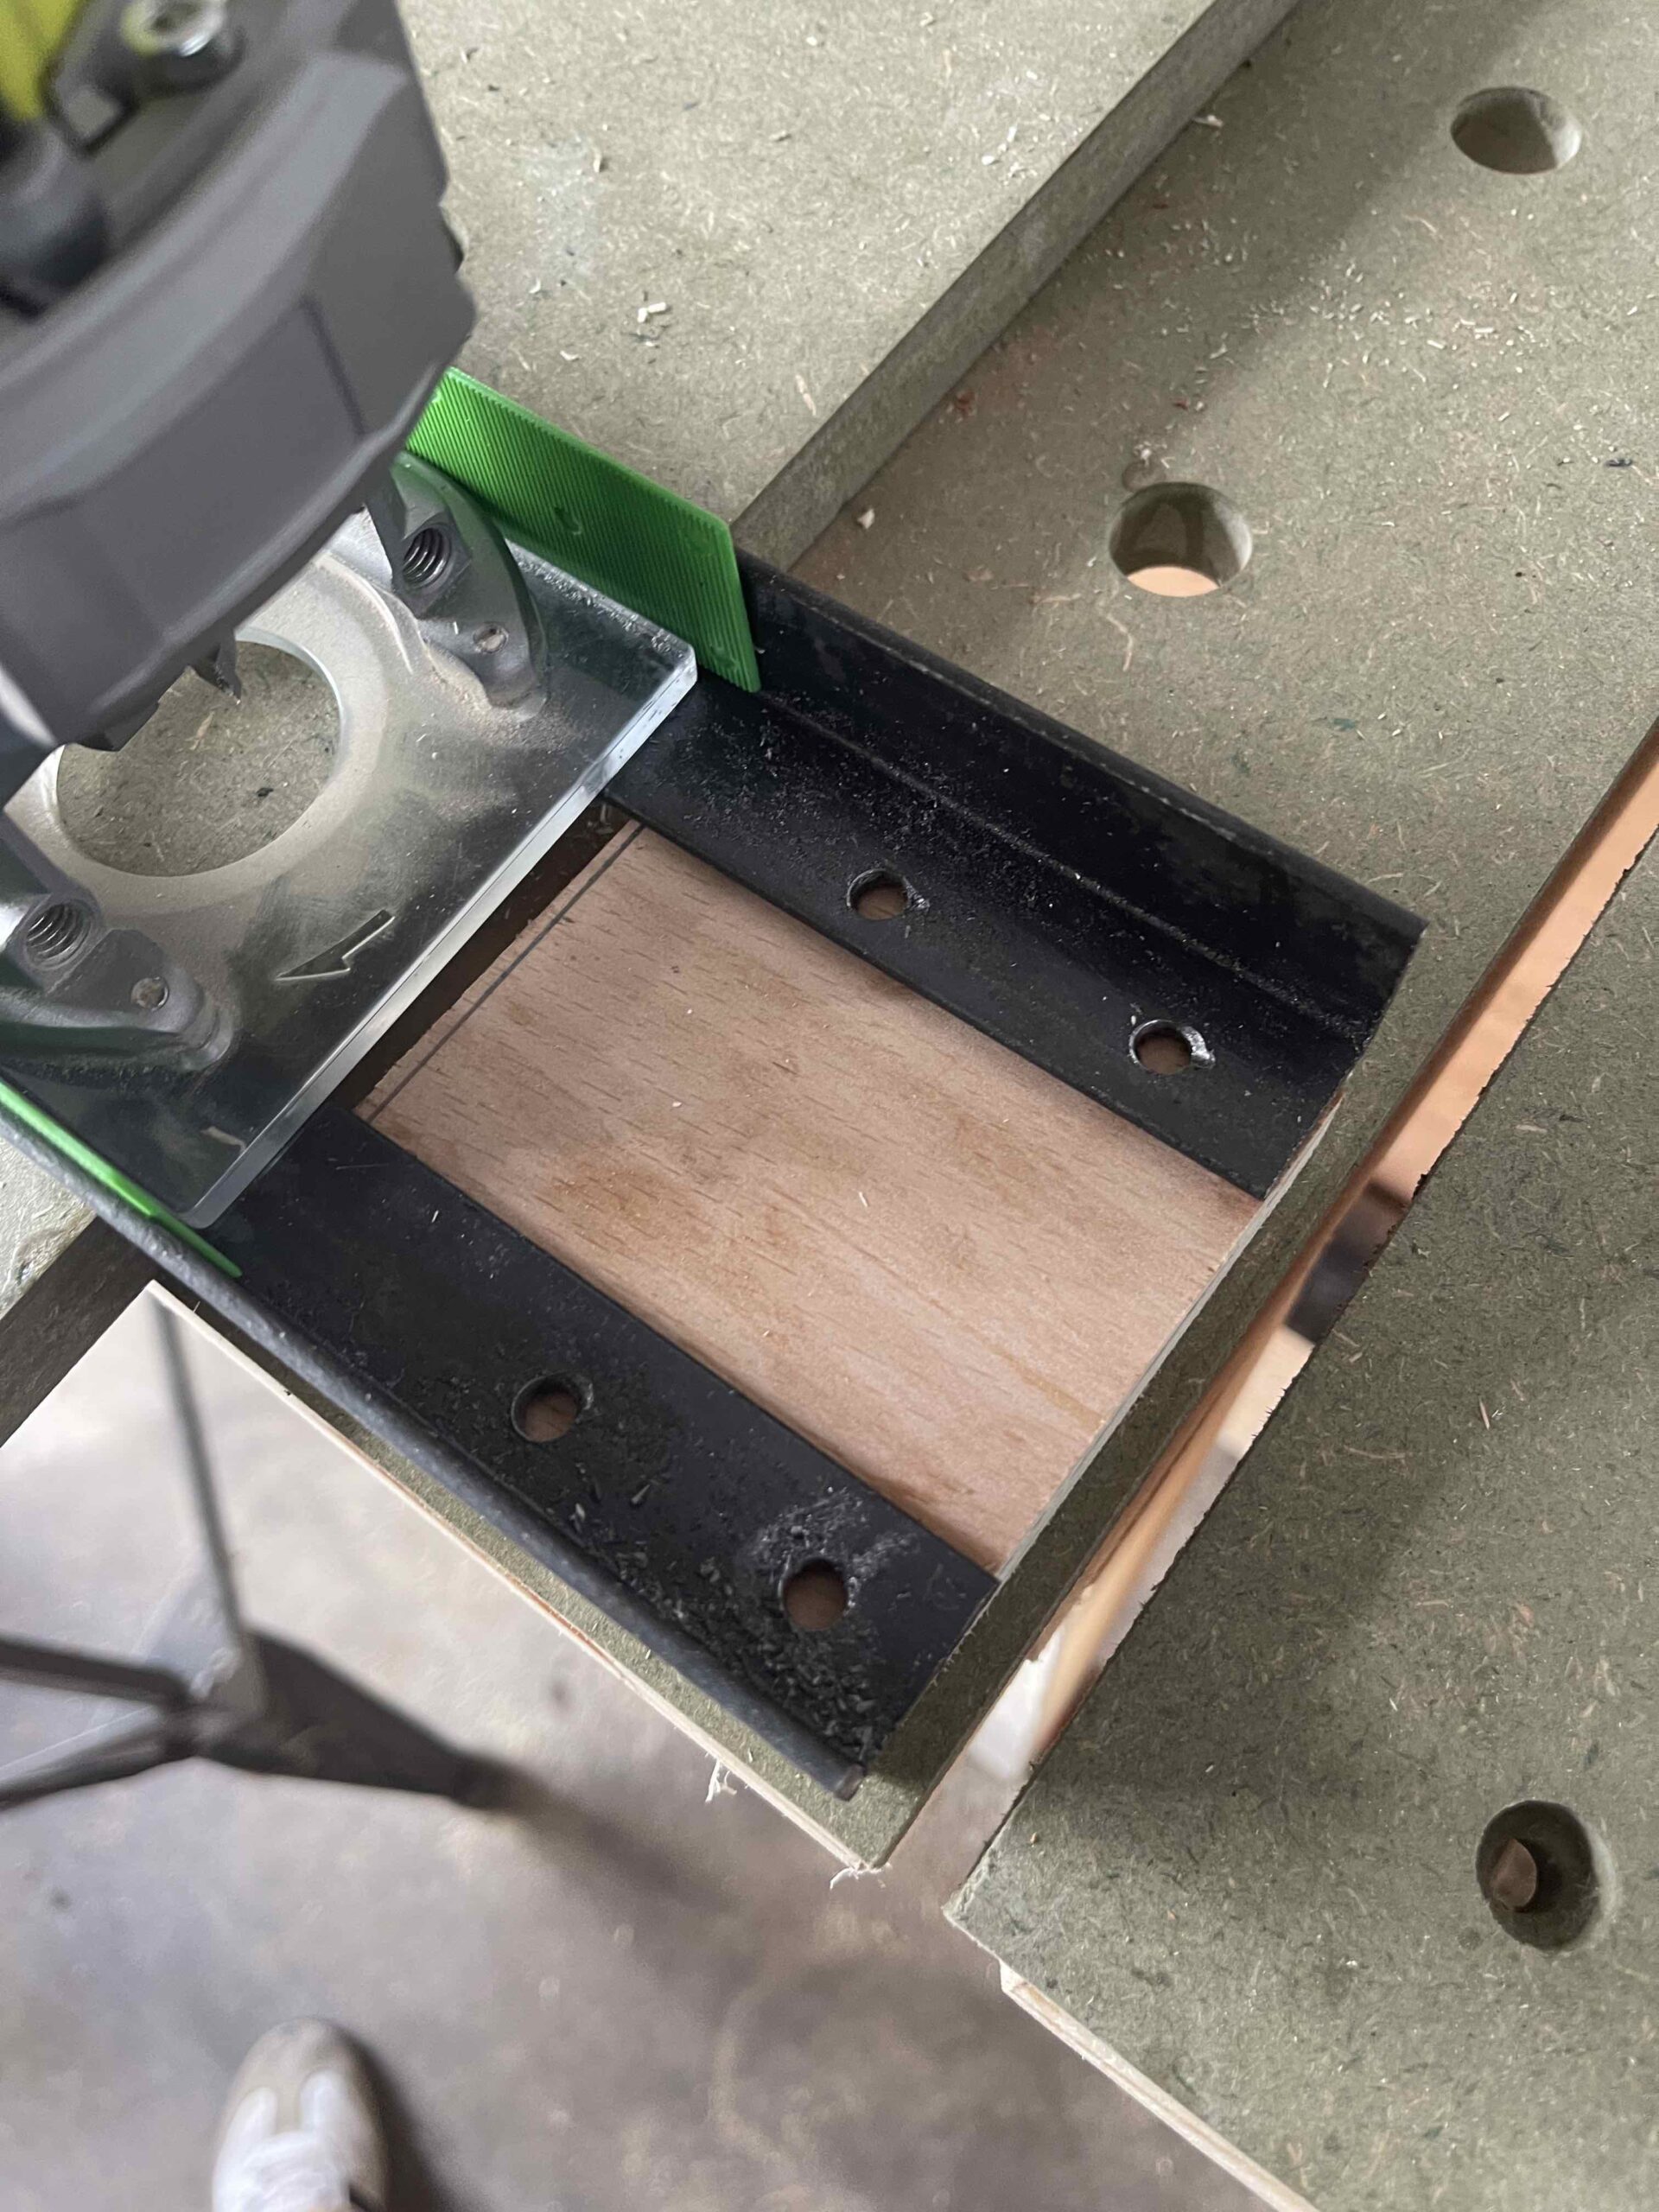
Initially I drilled into the plywood but then drilling into the metal perfectly proved to be a bit tricky so I opted to drill holes into the metal first and then drill through them into the ply. I put the router and shims in and clamped them so that I got the position right.
I secured the plywood underneath (so it then became a stop to sliding off the rails) and used some 6mm bolts/nuts to secure it.

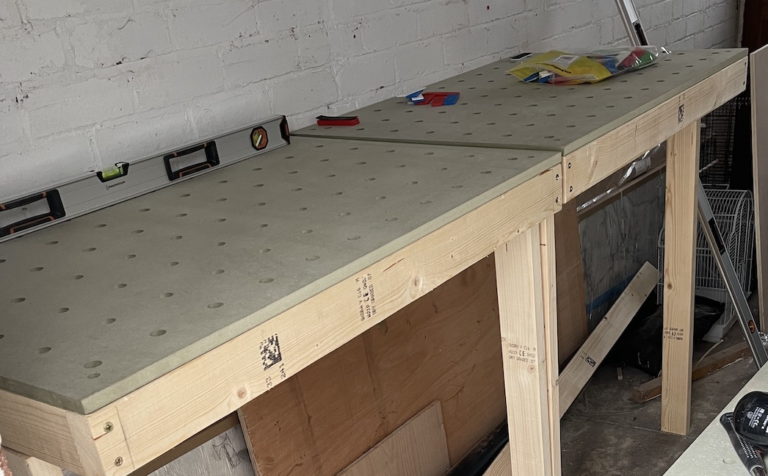
With that I had the router sled done
Now the rails…..Accuracy is absolutely key so I just bought two big spirit levels…..